
The article explains nominatecamerafine and shows how to use it. It defines nominatecamerafine, lists steps for setup, and gives tips for troubleshooting. The reader will get clear, practical instructions for nominatecamerafine.
Table of Contents
ToggleKey Takeaways
- NominateCameraFine is a fine-alignment camera parameter that adjusts pixel sampling, exposure micro-offsets, and focus bias to improve frame consistency in stitching, inspection, and vision models.
- Before changing nominatecamerafine, update firmware and drivers, back up current profiles, and document environment, lens, and test conditions to ensure reproducible results.
- Tune nominatecamerafine in small increments: capture a reference frame after each change and use objective metrics (edge width, subpixel shift, SNR) to decide whether to keep adjustments.
- If image shift, blur, or exposure variance appears after tuning, revert to the last good profile, re-run lens calibration, verify trigger timing and lighting, and repeat the nominatecamerafine steps with smaller steps.
- Save the final profile and monitor production samples continuously, and retrain or retune automated inspection models if nominatecamerafine changes alter pixel sampling or model inputs.
What ‘NominateCameraFine’ Refers To And When It Matters
nominatecamerafine refers to a camera parameter that adjusts fine alignment of image capture. It changes pixel sampling, exposure micro-adjustments, and focus bias. Engineers use nominatecamerafine when image detail and frame alignment must be precise.
It matters on systems that stitch images, perform automated inspection, or run computer vision models. When a camera takes many frames for analysis, nominatecamerafine helps keep each frame consistent. It matters in production lines, robotics, and scientific imaging.
It also matters when the camera works with led lighting or laser sources. Light pulses can shift effective exposure. nominatecamerafine lets technicians reduce those shifts. It matters when small shifts affect measurement or classification.
nominatecamerafine will not fix bad optics. It will not replace proper lens calibration. It will improve software-level capture if hardware is sound. People use nominatecamerafine as a final tuning step after core calibration.
How To Apply NominateCameraFine — Step‑By‑Step Guide
Step 1: Check firmware and drivers. The system must run the firmware that supports nominatecamerafine. They should update drivers before they change parameters.
Step 2: Back up current settings. The technician saves current camera profiles and exposure maps. They label the backup with date and camera id.
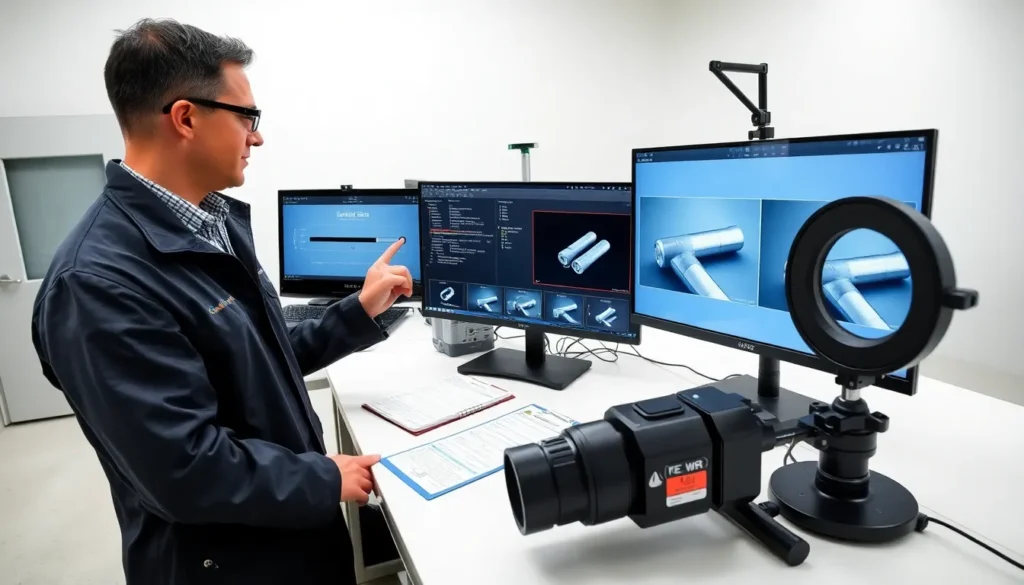
Step 3: Open the camera control panel. The software shows a nominatecamerafine slider or input field. The interface may show units such as microradians or exposure steps.
Step 4: Set a small starting value. The user sets a low nominatecamerafine value. Small steps prevent large image shifts.
Step 5: Capture a reference frame. The system captures a frame with the new nominatecamerafine value. The user compares the frame to the reference.
Step 6: Adjust in increments. The user increases or decreases nominatecamerafine in steady steps. They capture a frame after each change.
Step 7: Run automated checks. The software runs edge detection or a test pattern. The user uses objective metrics such as edge sharpness, subpixel shift, or SNR.
Step 8: Save the final profile. The user saves the profile when the metrics reach the target. They document the final nominatecamerafine value and test conditions.
Step 9: Monitor in production. The team checks a sample of frames in production. They confirm that nominatecamerafine still matches the lighting and temperature conditions.
Tips: Use controlled lighting for tuning. Use the same lens and mount for testing. Record environmental conditions with each profile.
Common Problems And How To Troubleshoot Them
Problem: Images shift slightly after applying nominatecamerafine. Cause: The value may be too large. Fix: Reduce the nominatecamerafine value and test again.
Problem: Edge blur increases after changes. Cause: The adjustment moved focus bias. Fix: Re-run lens calibration and set nominatecamerafine to a value that preserves sharpness.
Problem: Exposure varies frame to frame. Cause: Lighting or sync issues interact with nominatecamerafine. Fix: Verify trigger timing and use a stable light source. Lock exposure where possible.
Problem: The camera software shows an error when saving. Cause: Firmware mismatch or corrupted profile. Fix: Update firmware and reload defaults. Then reapply nominatecamerafine with small steps.
Problem: Automated inspection flags more defects after tuning. Cause: Nominatecamerafine changed pixel sampling in a way that affects the model. Fix: Retrain or retune the model with frames captured using the final nominatecamerafine value.
Diagnostic steps: Reproduce the issue with a test pattern. Capture before and after frames. Compare histograms and edge maps. If the problem persists, consult the vendor log files for nominatecamerafine entries.
When to roll back: If defect rates rise or if lighting cannot be stabilized, restore the backup settings and schedule a controlled retest.
Best Practices And Practical Examples
Best practice: Document every change. The team records the nominatecamerafine value, time, operator, and test results. This record speeds troubleshooting.
Best practice: Tune in the same environment you will operate in. The team sets lighting, temperature, and vibration to match the production floor. They avoid tuning in a quiet lab and then moving to a noisy line.
Best practice: Use objective metrics. The team measures peak signal-to-noise ratio, edge width, and subpixel shift. They set target thresholds before they change nominatecamerafine.
Best practice: Apply changes in small steps. The team avoids large swings. They validate after each step.
Example 1: A factory used nominatecamerafine to improve solder joint inspection. The engineer set nominatecamerafine to reduce micro-shifts. The inspection model found 18 percent more defects without raising false positives.
Example 2: A research lab used nominatecamerafine to align frames for a high-speed camera. The technician set small exposure offsets. The team reduced frame misalignment errors by 35 percent.
Example 3: A robotics team used nominatecamerafine on a stereo rig. They adjusted fine bias to match left and right cameras. The stereo depth error dropped by 0.7 mm on average.
Quick Reference: Parameters, Commands, And Expected Results
Parameter: nominatecamerafine value. Command: set nominatecamerafine . Expected result: Small change in pixel alignment or exposure bias.
Parameter: exposure lock. Command: lock exposure on. Expected result: Stable exposure across frames.
Parameter: sync offset. Command: set sync offset
Parameter: save profile. Command: save profile . Expected result: Persistent nominatecamerafine setting across reboots.
Expected metric targets: edge width under 1.5 px, subpixel shift under 0.2 px, SNR above 30 dB. These targets may vary by application.
They should test after each change. They should keep logs and roll back if results degrade.